welcome

Welcome to the "Time to Sow" blog. Our aim is to provide craft materials with a Christian flavour for adults and children of all ages. Along side the craft products we have an extensive range of puppets in all shapes and sizes to help make teaching the gospel fun. So if you are Stamping, Scrapbooking, Decoupageing, Card Making we have everything you need. We also stock all the accessories like Inks, Embossing powders, tools, card stock, etc. so if you would like your craft to carry a Christian theme then we are the blog for you.


Wednesday 29 August 2012

Free Decopage Giveaway Ends Tomorrow

Hi Blogger.
As I  sure that you all know that our decoupage give away ends tomorrow morning for you chance of winning  10 whole sheets of world like honey honey decopag ewith free post and packing just post the comment win under the blog or facebook post and we will chose a winner tomorrow morning


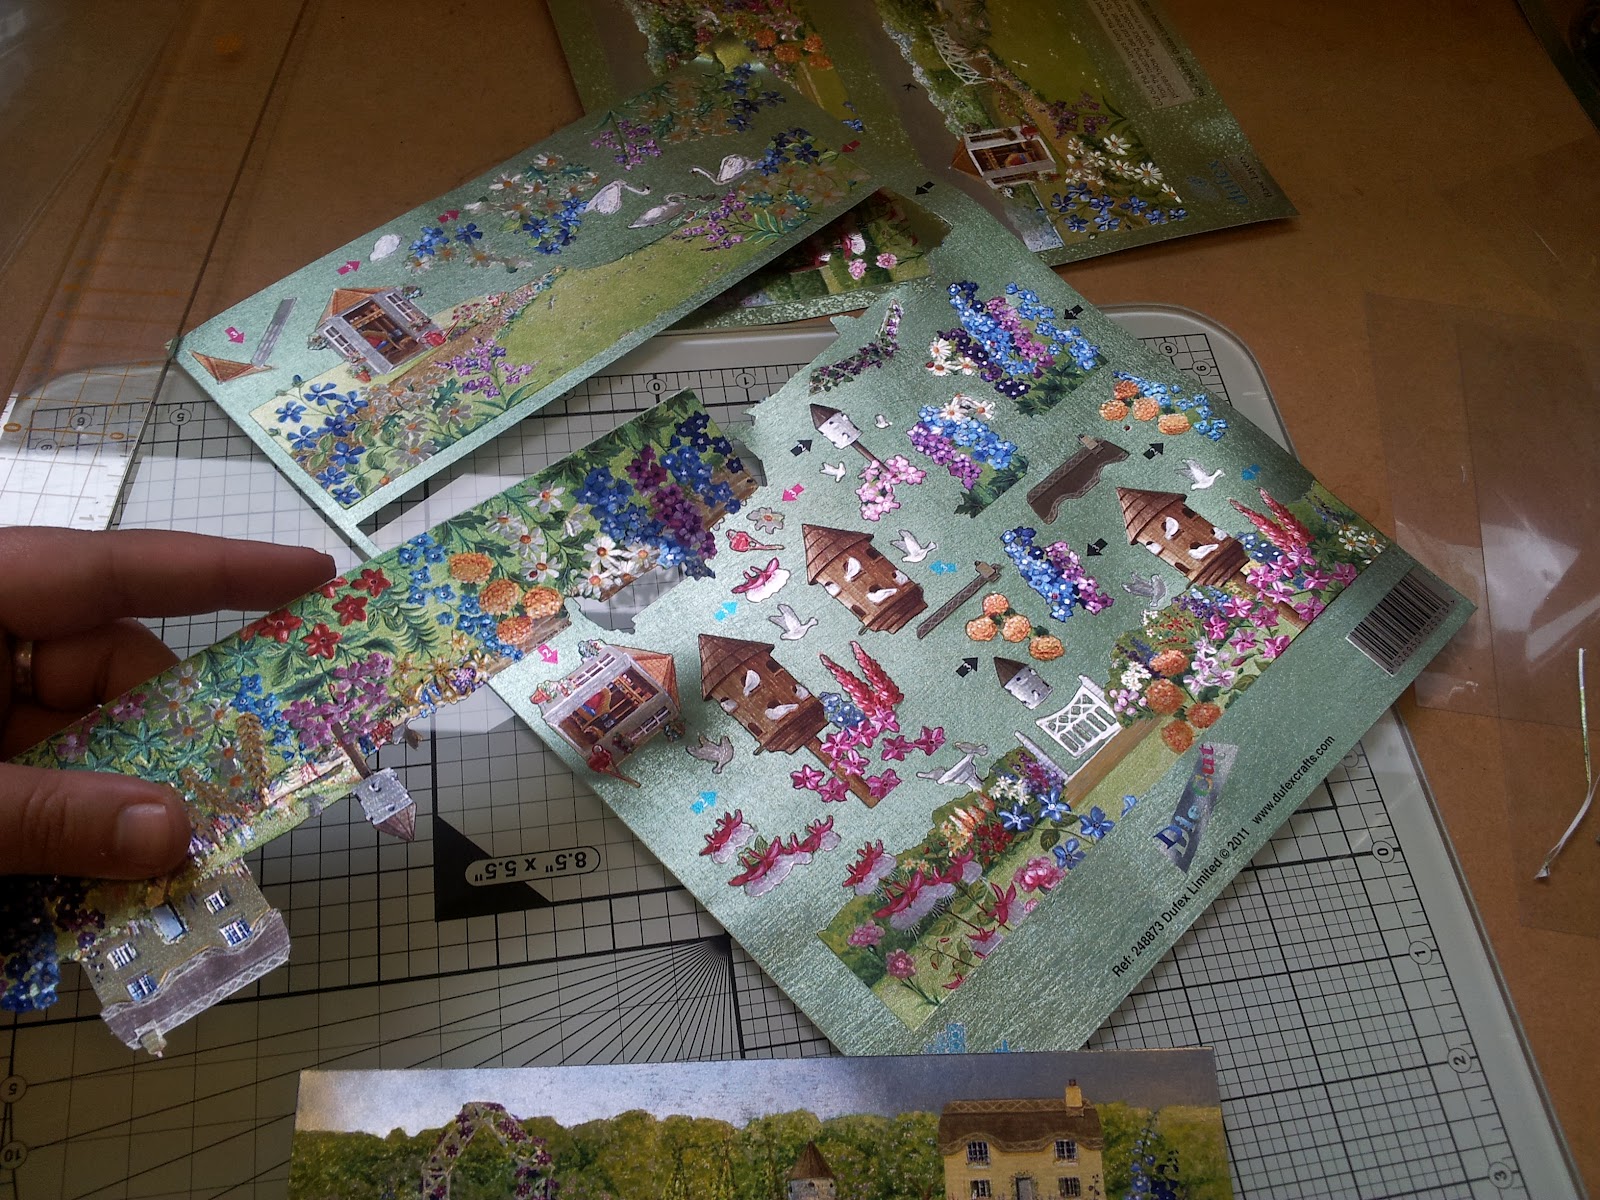
With that in mind I thought today I would share with you some cards the girls in the office made using some of the products in  this weeks give away.

Dont worry if you have missed out on the weeks give away or last weeks stamp give away all the products are on your web site still.
The card belowe wa smade using the stampin last week give away

Monday 27 August 2012

This week free giveawy

For you chance of win all 10 sheets of words like honey decopage  with free post and packing post win on our face book page/twitter/blog and we will pick our winner on thusday morning!good luck from all the team.


Wednesday 22 August 2012

HOLLY HOCK

Hi Bloggers.

Today in the mood for stamping. we  are very lucky at time to show as our office is set in a quite corner of a English country garden. Mandy was inspired by this very same garden when she opened our deliver from wood ware and her eyes fell apone this stamp


Cling Holly Hock
Code: WWCRS5031
Price: £13.75

And to be honest who can blame her.

 I am sure you be seeing lots more made with stamp.

Tuesday 21 August 2012

Garden Scenes-Emma

Good afternoon bloggers .
Emma here I wanted to share with you this card I ve made for friends of mine that are moving this week

seen we got this dufex decoupage ive been wanting to make it but had no time to make it up and now i have the time and a the reason to make it.


all the materials are again from our web site i used the following:


Garden Scenes
Code: DX248873
Make 4 lovely cards Ideal for DL cards
Price: £2.75


Tape Pen - PERMANENT
Code: STIXS56986
Double Sided Acid Free Permanent Transfer Tape Pen
Price: £2.25


5 x5 x2mm Double Sized Foam squares
Code: EMfpj3 3100
Double sized foam squares
Price: £0.99


Trug
Code: BI512
Wooden Embellishment
Price: £0.75


Step One:use a glass cutting mat, metal rule and craft knife i cut out the base panel of the decoupage you have three to chose from on this sheet I just happen to love the top design.


Step Two: I went to the second sheet in the pack and has all the layer elements per cut.  i Begin to layer the layers up using my foam squares.


Step three: I took a a5 card stock and fold the front plane in half to create a base for  a easel card.


Step Four: Taking the finished garden sense and taking the same colour card stock I stuck  on the garden sense and cut the corners with a cerve punch I  personal think this softens the look of the card.once punched  I stuck this on to the easel card stock base.


Step Five: I  cut a strip of card that matches the garden sense and stuck this on the base of the easel card to crate a stopper so the car stand up on its on. To this  strip of card  I added of our small trug wooden buttons.


 And theres your finished card I would love to know what you think.


Mandys Poppy Panel 3d Decoupage

Good morning from the time to sow studio.
 Today  we want to share with you a second card  created by Mandy.once again she chose decoupage sheet and words like honey peel offs.

the material's used on this card can all be found on the website.www.timetosow.com.


Poppy Panel 3d Decoupage
Code: CCSD327
Cut Layer then Mount
2 Projects on sheet
Price: £0.40


5 x5 x2mm Double Sized Foam squares
Code: EMfpj3 3100
Double sized foam squares
Price: £0.99


Christian words of comfort Gold
Code: WLH0586G
Large sheet of Gold peel off stickers.

Ideal as that perfect finishing touch when card making.

Text Your in my thoughts and prayers
BE STILL AND KNOW THAT I AM GOD peace be with you CONSIDER THE LILIES May the Lord be your comfort
Price: £0.75


Step One: Take the decoupage sheet and follow the number codes cut out each layer and build using the foam squares.

Step Two:Take your finished decoupage and place on to your car stock using double sided tape.

Step Three: take a boarder peel off and place round all four edges of the decoupage i find this lifts the design off the card and add a small bit of luxury to the card.

Step Four: Take your chosen peel off sentiments and add this  to you card stock. Mandy chose the words like honey Christian words of comfort Gold.


Step Five:Writeyour message inside and post

Monday 20 August 2012

Patch a Bauble- new christmas stamps

hello again from the time to sow studio, as you may have seen from our face book last night Mandy and Emma where busy creating( well playing) with some new  stamps.

Today I want to share with you a card with Emma created using new stamps in our Christmas range, tom bow pens and a decoupage technique


Materials used are all available on the website . wwwtimetosow.com


Patch a Bauble
Code: WWFRCL209 £ 10.25


Medium Acrylic Block
Code: WLHAC3
For use with clear stamps
Size 76 x 100mm
Price: £4.25


5 x5 x2mm Doubler Sized Foam squares
Code: EMfpj3 3100
Double sized foam squares
Price: £0.99


Step One: Going to stamp set take the bow design and place this  at the top of the card stock to one side.

Step Two: Take the tear drop bauble  stamp and place on to the clear acrylic block and stamp one image on to your chosen card stock
Stamp up the image three more times so your able to build up the layers.

Step Three: start to colour your patchwork design.Once coloured cut out the 3 elements cut them out and chose how you want to layer your design.
I started from the bottom up so my first layer I colour the bottom section red.
On the second layer I cut the bottom section off the design of i could see the bottom layer though the design.
I coloured the holly patch section and once again using the form squares decoupage the designs

Step four: Go back to the stamp set and take  the star and bottom elements and stamp these on to the card stock and colour using colours used in the bauble design.

Step Five: place a Christmas sentiment peel off of your choice on to the card .

Step Six: write your message and post.

Sunday 19 August 2012

mandys Smiling Daisies

 hello from the time to sow team
 today we want to share with you can card Mandy made.


for this card Mandy  used the following products which are all available on the website and mail order. contact us 01462 639 829 or www.timetosow.com


Smiling Daisies
Code: CCSD373
One design on sheets
Price: £0.40


Flower Border Gold

Code: EMDD6526G
Large sheet of metallic Gold peel off stickers.
Ideal as that perfect finishing touch when card making.
Size 225 x 100 mm
Price: £0.75


Happy Birthday Small text Gold

Code: EMST342L G
Peel offs from Starform
Price: £0.75


5 x5 x2mm Double Sized Foam squares

Code: EMfpj3 3100
Double sized foam squares
Price: £0.99


Step One: Take the decoupage sheet and cut out the different layers.
 Once these are cut apply the different layers on to the card using the form squares.

Step Two:Once you have the finished imaged layered place on to your card stock.
 use double side tape.
place the designs high on to the card so that you can place the message to the bottom of the card.
Step Three:Take a strip of the daisy peel of board and start at the left side of the decoupage run round the full image.
Going back to the decoupage sheet cut out four of the small 1 cm size Daisy's.
Using the foam pads once again place to the card where the boarders meet to cover the cut peel off edges.


Step Four: Once again using the decoupage sheet cut out one of the message boxes.
  Place the happy birthday peel off on to it. and using the tape stick on to the card stock.

Step Five: Write your message inside and place in an envelope and post.

Thursday 16 August 2012

new video

Hi this is Tim at "Time to Sow"


With some news from Time to Sow I have just put a new Video workshop on the web site.
The video is using clear stamps masked with post it notes to so as overlap the images. I have put some thumbnails of the finished cards at the bottom of this email the video is embedded on the front page of the web site so if you fancy giving the technique a try you can watch the video from there. (by clicking on the video gallery button you can view any of the previous workshop videos we have done)


There are also some thumbnails of some Dedication/Christening cards that Mandy has made and has written up on the blog once again you can find a link to the blog on the home page of the web site. Now Mandy and Emma are both putting things up onto the blog there is far more going on.


A quick visit to the site will reveal lots of new exciting products that we have recently added to the site.

www.timetosow.com


God Bless and Happy crafting


Tim and Mandy

Thursday 9 August 2012

urban flavors: london-fog

I am not sure if its London 2012 or the fact that the small village that i am living in is growing bigger and more urban but the colours of gray,white and pink have really caught my eye.

In the high street fashion, magazines and national trust houses so in this post I thought that I would play with these colours.